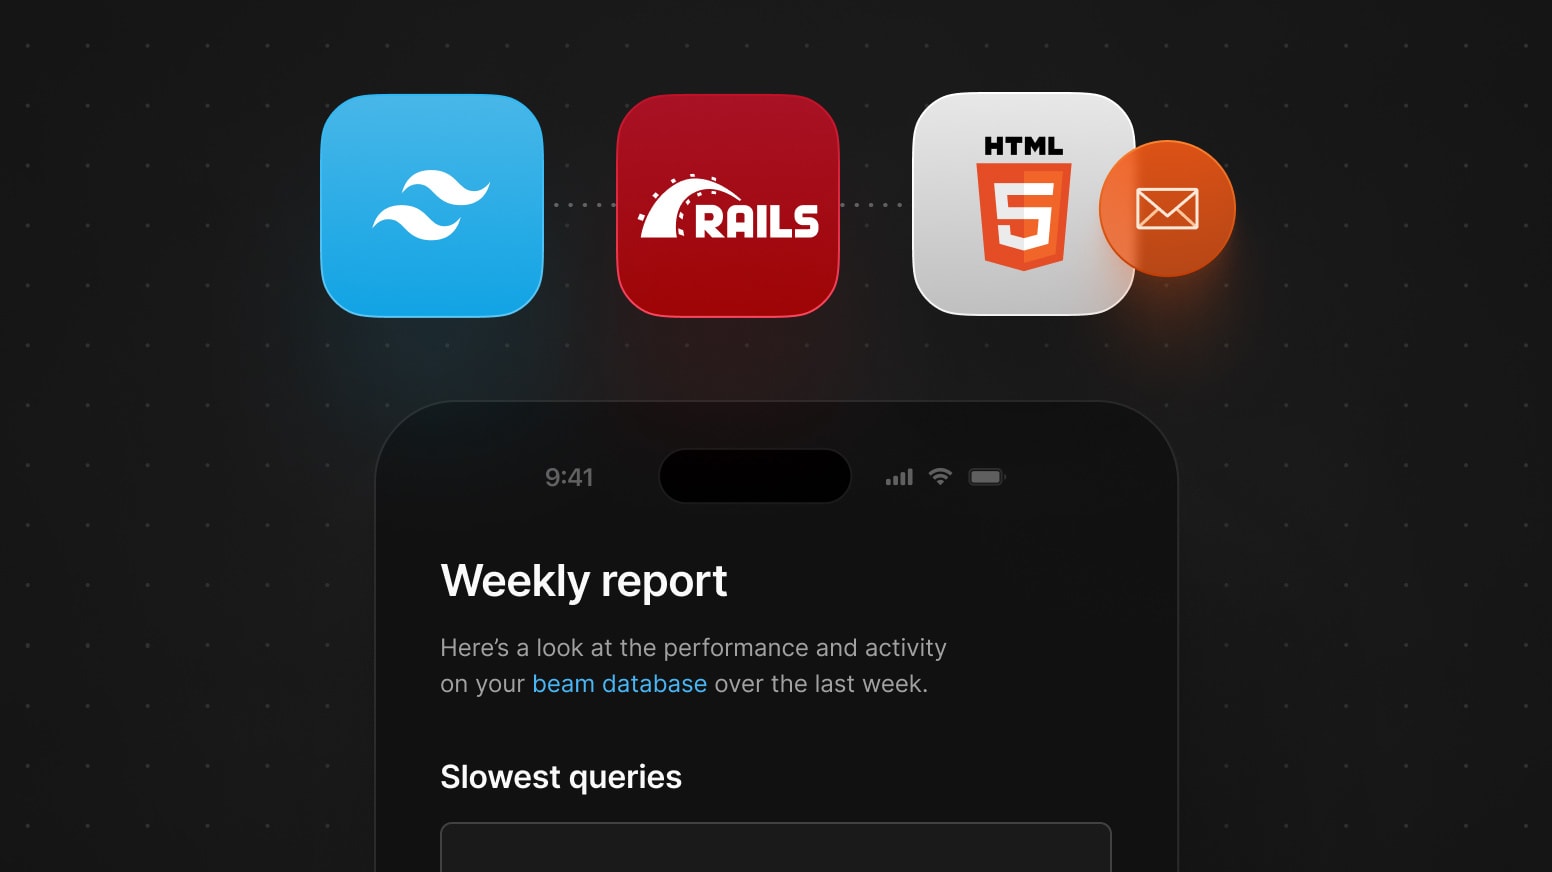
A guide to HTML email with Ruby on Rails and Tailwind CSS
Learn how to build HTML emails using Rails and Tailwind CSS. We also cover how to overcome some common obstacles such as Gmail message clipping, large file size, Apple autolinking, and more.
Being in someone’s inbox is a privilege. At PlanetScale, we spend a great amount of time and detail making sure we get it right.
We recently shipped weekly database report emails. These report emails are sent out weekly to give you an easy way to see database performance, activity, and actionable next steps.
In this article, we’ll cover how we built the HTML emails that power our weekly database reports using Ruby on Rails and Tailwind CSS and how we overcame some of the challenges we faced.
This article is not intended to be a full step-by-step tutorial but, rather, a reference for those exploring how to build HTML emails in your own application using Rails and Tailwind.
Set up the Rails app
If you’d like to loosely follow along, make sure you have a Rails app set up. You need to have Rails 7+ running with cssbundling-rails and configured for postcss.
You can create a new app by running:
rails new myapp --css postcss
Updating an existing Rails app
If you have an existing Rails app, but it’s not configured for postcss, follow these instructions to finish set up. If you followed the previous instructions, you can skip this step.
- Add
cssbundling-rails:
./bin/bundle add cssbundling-rails
- Run the scaffolding:
./bin/rails css:install:postcss
You may be prompted to overwrite the file. If you already have a
postcss.config.jsfile, you can skip overwriting it by typingnwhen prompted.If you previously had an
application.cssfile inapp/assets/stylesheets/directory, you can undo these changes with:
git restore --staged app/assets/stylesheets/application.css
git checkout app/assets/stylesheets/application.css
- Remove the generated
application.postcss.css:
rm app/assets/stylesheets/application.postcss.css
- You may be prompted to overwrite the file. If you already have an
application.postcss.cssin yourapp/assets/stylesheetsdirectory, you can skip overwriting it by typingnwhen prompted.
Now that your Rails app is set up, let’s configure postcss.
Configuring postcss for email
We want to have two separate CSS files: one for your web application and one for your emails. Why? Email CSS is much different than web CSS — email clients have very limited support to what CSS you can use. Let’s create that separate file now.
- Create your email CSS file by running:
touch app/assets/stylesheets/mailer.postcss.css
Each CSS file will be configured with different Tailwind options optimized for their own use case. Generating these separated files is straightforward with the postcss CLI.
- We need an input directory
app/assets/stylesheetsand an output directoryapp/assets/builds.
// package.json
 {
   "scripts": {
-    "build:css": "postcss ./app/assets/stylesheets/application.postcss.css -o ./app/assets/builds/application.css"
+    "build:css": "postcss ./app/assets/stylesheets/{application,mailer}.postcss.css --base ./app/assets/stylesheets --dir ./app/assets/builds"
   }
 }
- Next, compile the CSS:
yarn build:css
- You can verify that the compiled CSS exists with:
ls app/assets/stylesheets/
- Technically, these are just CSS files. These have already been processed by PostCSS and there’s nothing PostCSS about them anymore. Let’s remove the
postcssextension:
mv app/assets/stylesheets/application{.postcss,}.css
mv app/assets/stylesheets/mailer{.postcss,}.css
- Next, rebuild the CSS with:
yarn build:css
- You can confirm it updated with:
ls app/assets/builds/
Creating an email-specific stylesheet
Next, let’s set up Tailwind and configure PostCSS. This allows us to optimize the build output differently for the web (application.css) and email (mailer.css).
Tailwind CSS
- Install Tailwind:
yarn add tailwindcss postcss autoprefixer postcss-import --dev
- Initialize Tailwind CSS:
yarn tailwindcss init
- Let’s tell PostCSS to post-process the email CSS for an optimized build. Update the
postcss.config.jsfile as follows:
// postcss.config.js
-module.exports = {
-  plugins: [
-    require('postcss-import'),
-    require('postcss-nesting'),
-    require('autoprefixer'),
-  ],
+module.exports = (api) => {
+  if (/mailer/.test(api.file.basename)) {
+    return {
+      plugins: {
+        'postcss-import': {},
+        'postcss-custom-properties': {
+          preserve: false
+        },
+        'tailwindcss/nesting': {},
+        tailwindcss: {
+          config: './tailwind.config.mailer.js'
+        }
+      }
+    }
+  }
+
+  return {
+    plugins: {
+      'postcss-import': {},
+      'tailwindcss/nesting': {},
+      tailwindcss: {},
+      autoprefixer: {}
+    }
+  }
 }
There’s a lot to unpack here so let’s go over the above snippet step by step.
First, we check if we’re post-processing the mailer CSS or application CSS. Depending on the file, we’ll post-process them slightly different to guarantee we’re optimizing for the platform. This is done in this code snippet:
if (/mailer/.test(api.file.basename)) {
  // ...
}
Next, let’s look at the two import configuration rules. The first one is postcss-custom-properties:
{
  'postcss-custom-properties': {
    preserve: false
  }
}
The preserve option determines whether Custom Properties and properties using custom properties should be preserved in their original form. We don’t want to preserve these because most email clients do not support CSS variables. We do this by setting preserve to false.
For example, the two snippets below illustrate what it looks like before and after setting preserve: false:
Before setting preserve: false:
:root {
  --color: red;
}


h1 {
  color: var(--color);
}
After setting preserve: false:
h1 {
  color: red;
}
Finally, we’re telling PostCSS to use a different Tailwind config:
{
  tailwindcss: {
    config: './tailwind.config.mailer.js'
  }
}
Now that that’s all covered, let’s continue on with the Tailwind configuration.
- Next, create the
tailwind.config.mailer.jsfile now:
// tailwind.config.mailer.js


module.exports = {
  content: ['app/helpers/mailer_helper.rb', 'app/views/*_mailer/*.html.erb', 'app/views/layouts/mailer.html.erb'],
  future: {
    disableColorOpacityUtilitiesByDefault: true
  },
  theme: {
    extend: {
      borderRadius: {
        none: '0',
        xs: '2px',
        sm: '4px',
        DEFAULT: '6px',
        md: '8px',
        lg: '10px',
        full: '9999px'
      },
      fontSize: {
        xs: '10px',
        sm: '12px',
        base: '14px',
        lg: '16px',
        xl: '18px',
        '2xl': '22px',
        '3xl': '24px',
        '4xl': '28px',
        '5xl': '32px'
      },
      spacing: {
        0.5: '4px',
        1: '8px',
        1.5: '12px',
        2: '16px',
        2.5: '20px',
        3: '24px',
        4: '32px',
        4.5: '36px',
        5: '40px',
        6: '48px',
        7: '56px',
        8: '64px',
        9: '72px',
        10: '80px'
      }
    }
  }
}
Let’s go over what’s happening in this file.
This first content block tells Tailwind where all of our email HTML templates and helpers live.
{
  content: ['app/helpers/mailer_helper.rb', 'app/views/*_mailer/*.html.erb', 'app/views/layouts/mailer.html.erb']
}
Next, take a look at the future object:
{
  future: {
    disableColorOpacityUtilitiesByDefault: true
  }
}
This is the equivalent of saying:
{
   corePlugins: {
     backgroundOpacity: false,
     borderOpacity: false,
     divideOpacity: false,
     placeholderOpacity: false,
     ringOpacity: false,
     textOpacity: false
   }
}
And what this does if favor HEX values over RGBA values because, as you might have guessed, not all email clients support alpha values.
Similarly, if you take a look at theme.extend in the tailwind.config.mailer.js file, this will favor PX values over REM, since email client doesn’t support them:
{
  theme: {
    extend: {
      // ...
    }
  }
}
Inline CSS
Email clients don’t have great support for stylesheets. The easiest way to handle this is to work with inline styles, but that is error-prone and hard to work with, as you cannot use classes and/or reuse styling over your HTML.
For our emails, we used a library called roadie to do the hard work for us. It also plays nice with Tailwind CSS.
- Add
roadie-rails:
./bin/bundle add roadie-rails
- Set up
roadie-rails:
# app/mailers/application_mailer.rb
 class ApplicationMailer < ActionMailer::Base
+  include Roadie::Rails::Automatic
+
   default from: "from@example.com"
   layout "mailer"
 end
Set up the layout
The container is the main wrapper that hold your content. Typically, in email, this is a single ~600px wide center-aligned column that will shrink down on smaller viewports. Here is what ours looks like:
<!DOCTYPE html>
<html xmlns:v="urn:schemas-microsoft-com:vml" xmlns:o="urn:schemas-microsoft-com:office:office">
  <head>
    <meta charset="utf-8">
    <meta http-equiv="x-ua-compatible" content="ie=edge">
    <meta name="viewport" content="width=device-width, initial-scale=1">


    <title><%= message.subject %> | PlanetScale</title>


    <%= stylesheet_link_tag "mailer" %>
  </head>


  <body>
    <div role="article" aria-roledescription="email" aria-label="<%= message.subject %>" lang="en">
      <table border="0" cellpadding="0" cellspacing="0" class="font-sans" width="100%">
        <tr>
          <td height="32"></td>
        </tr>


        <tr>
          <td align="center">
            <table border="0" cellpadding="0" cellspacing="0" class="w-full max-w-[684px] px-0 sm:w-[684px] sm-px-2" width="100%">
              <tr>
                <td>
                  <%= yield %>
                </td>
              </tr>
            </table>
          </td>
        </tr>


        <tr>
          <td height="32"></td>
        </tr>
      </table>
    </div>
  </body>
</html>
Supporting dark mode
As part of these new emails, we had to make sure we support users who prefer dark mode. Tailwind made this a breeze:
   <head>
     <meta charset="utf-8">
     <meta http-equiv="x-ua-compatible" content="ie=edge">
+    <meta name="color-scheme" content="light dark">
+    <meta name="supported-color-schemes" content="light dark only">
     <meta name="viewport" content="width=device-width, initial-scale=1">


     <title><%= message.subject %> | PlanetScale</title>
/* app/assets/stylesheets/mailer.css */
@import 'tailwindcss/base';
@import 'tailwindcss/components';
@import 'tailwindcss/utilities';


:root {
  color-scheme: light dark;
  supported-color-schemes: light dark;
}


@media (prefers-color-scheme: dark) {
  body {
    background-color: #111 !important;
    color: #fafafa !important;
  }


  a {
    color: #47b7f8 !important;
  }
}
Adding the preheader
The preheader is the perfect place to further encourage your subscribers to open your email. It is the text headline that appears next to the email subject. Here’s how we set ours up:
<% # app/views/database_mailer/database_weekly_report.html.erb %>
<% content_for :preheader do %>
  <%= @report.period_start_label(full: false) %> – <%= @report.period_end_label(full: false) %> Here’s a look at the performance of your <%= @database.display_name %> database.
<% end %>


<% # app/views/layouts/mailer.html.erb %>
<!DOCTYPE html>
<html>
  <body>
    <% if content_for?(:preheader) %>
    <div class="hidden">
      <%= yield :preheader %>
    </div>
    <% end %>
  </body>
</html>
Apple autolinking
Phone numbers, addresses, dates, and (somewhat random) words like "tonight" frequently turn blue and underlined in emails viewed on an iPhone or iPad. These links trigger app-driven events, such as making a call or creating a calendar event. While these may come in handy for some scenarios, in others, they can be a nuisance and ruin your carefully-planned branding, even decreasing legibility.
They weren’t relevant to our emails, so we removed them:
     <meta name="color-scheme" content="light dark">
     <meta name="supported-color-schemes" content="light dark only">
     <meta name="viewport" content="width=device-width, initial-scale=1">
+    <meta name="format-detection" content="telephone=no, date=no, address=no, email=no, url=no">
+    <meta name="x-apple-disable-message-reformatting">


     <title><%= message.subject %> | PlanetScale</title>


     <%= stylesheet_link_tag "mailer" %>
   </head>
Handling Gmail clipping
Gmail clips emails that have a message size larger than 102KB and hides the content behind a “View entire message” link.
Cut unnecessary content
The first recommendation to handle this is to cut any content that may be unnecessary. In our case, we’re limiting the amount of slow queries to the first ten:
-<% @report.slow_queries.each do |query| %>
+<% @report.slow_queries.first(10).each do |query| %>
 <tr>
   <td class="font-mono text-sm text-primary">
-    <%= query.sql %>
+    <%= truncate(query.sql, length: 200) %>
   </td>
Additionally you can truncate content and instead link to the full content:
<% @report.slow_queries.first(10).each do |query| %>
 <tr>
   <td class="font-mono text-sm text-primary">
+    <%= truncate(query.sql, length: 200 %>
+  </td>
+  <td align="right">
+    <%= link_to "View query", query %>
   </td>
Debug view source
After we went through and cut any unnecessary content, we noticed we’d still sometimes have clipped content. The email looks pretty small, so let’s take a closer look to see what sends the email size over the 102KB limit.
To determine the size of your sent email, send it to a test address. View the source code, and save the source code in a document. Then, view the file size of that document. We were sending emails of ~80KB, so we wanted to create a bit more buffer. We did this by cutting down some Tailwind imports:
-@import 'tailwindcss/base';
-@import 'tailwindcss/components';
 @import 'tailwindcss/utilities';


 @import 'mailer/base';
 @import 'mailer/theme';
We removed Tailwind’s preflight styles and component utilities to try to bring down our overall file size:
html {
  line-height: 1.5;
}


body {
  line-height: inherit;
  margin: 0;
}


img {
  border-style: none;
  display: block;
  vertical-align: middle;
  max-width: 100%;
  height: auto;
}
Testing file size again
With these changes in place, we repeated the email sending test again, and saw we reduced our email size from 80KB to 45KB.
It turned out that trying to accomodate Gmail’s clipping was a great exercise for determining what content is actually essential for your emails.
Accomodating Gmail desktop styles
We noticed that on desktop in Gmail, our mobile styles are applied, even though our design is responsive. According to the Google Workspace guides, Gmail supports CSS media queries.
So, what’s going on here? Whenever you use responsive modifiers like sm or important modifiers like !, Tailwind CSS will escape that output.
For example:
<span class="hidden sm:!inline"> Shown on desktop only </span>
This will generate:
.hidden {
  display: none;
}


@media (min-width: 640px) {
  .sm\:\!inline {
    display: inline !important;
  }
}
While modern browsers support escaped sequences, Gmail unfortunately does not. It’s best to stick to the symbols [a-zA-Z0-9_-]. From a to z, from A to Z, from 0 to 9, underscores (_), and hyphens -.
To do this, the easiest solution is to define a handful of utlity helpers:
@media (min-width: 640px) {
  .sm-block {
    display: block !important;
  }


  .sm-hidden {
    display: none !important;
  }


  .sm-inline {
    display: inline !important;
  }
}
And, finally, update our markup:
-<span class="hidden sm:!inline">
+<span class="hidden sm-inline">
  Shown on desktop only
</span>
This works well because at PlanetScale, we don’t heavily rely on differentiating between desktop and mobile styles.
An alternative option to this could be changing the separator modifier:
module.exports = {
  separator: '_'
}
However, with this option, you’d still end up having to overwrite your styles to add !important to them. It’d be cool if Tailwind CSS supported setting the important modifier on mobile styles only. You cannot override inline CSS if it has !important. It has the highest precedence, higher than the style in our external CSS file where the media queries live.
If we see that this becomes a maintenance burden down the line, we’re considering writing a Roadie transformer to automate the above process for us so we can keep using the vanilla Tailwind CSS we know and love.
Testing our emails
Now that all the upfront work is done, we enter the testing phase.
Previewing emails
Rails provides an easy way to see how emails look by visiting a special URL that renders them.
Let’s create a preview mailer in test/mailers/previews/database_mailer_preview.rb:
class DatabaseMailerPreview < ActionMailer::Preview
  def database_weekly_report
    DatabaseMailer.with(
      database: database,
      recipient: user,
      report: report,
      subscription: subscription,
    )
  end


  private


  def database
    Database.first!
  end


  def recipient
    User.first!
  end


  def report
    DatabaseReport.new(
      database: database,
      period_start: Time.current.beginning_of_week,
      period_end: Time.current.end_of_week,
    )
  end


  def subscription
    Subscription.new(
      database: database,
      user: user,
    )
  end
end
The preview is now available in http://localhost:3000/rails/mailers/database_mailer/database_weekly_report.
If you change something in app/views/database_mailer/database_weekly_report.html.erb or the mailer itself, it’ll automatically reload and render it so you can see the new style instantly.
Sending test emails
Email testing ensures that your emails are rendered as intended. Not every email provider supports dark mode or media queries, so it’s important to send an actual email so that you can test in several providers. Let’s create a custom Rake task in lib/tasks/email.rake/ to generate the email:
# frozen_string_literal: true


namespace :dev do
  namespace :mailer do
    task :database_weekly_report, [:email] => :environment do |_t, args|
      raise ArgumentError, "Rails environment is not development" unless Rails.env.development?
      raise ArgumentError, "Email argument is missing" unless args[:email]


      mailer = DatabaseMailerPreview.new.database_weekly_report
      mailer.to = args[:email]
      mailer.deliver
    end
  end
end
We can now send a test email with:
$ bin/rails dev:mailer:database_weekly_report[info@planetscale.com]
From here, you can quickly iterate to fix anything that doesn’t work well with specific email clients.
Conclusion
While building HTML emails can be a pain, Rails and Tailwind CSS made the process quite enjoyable. We were able to build, test, and ship quickly thanks to Rails and Tailwind. If you have any questions about the implementation, don’t hesitate to reach out! You can find us on X (Twitter) or fill out the form on our Contact page.